Showing posts with label breakfast. Show all posts

18 March, 2013

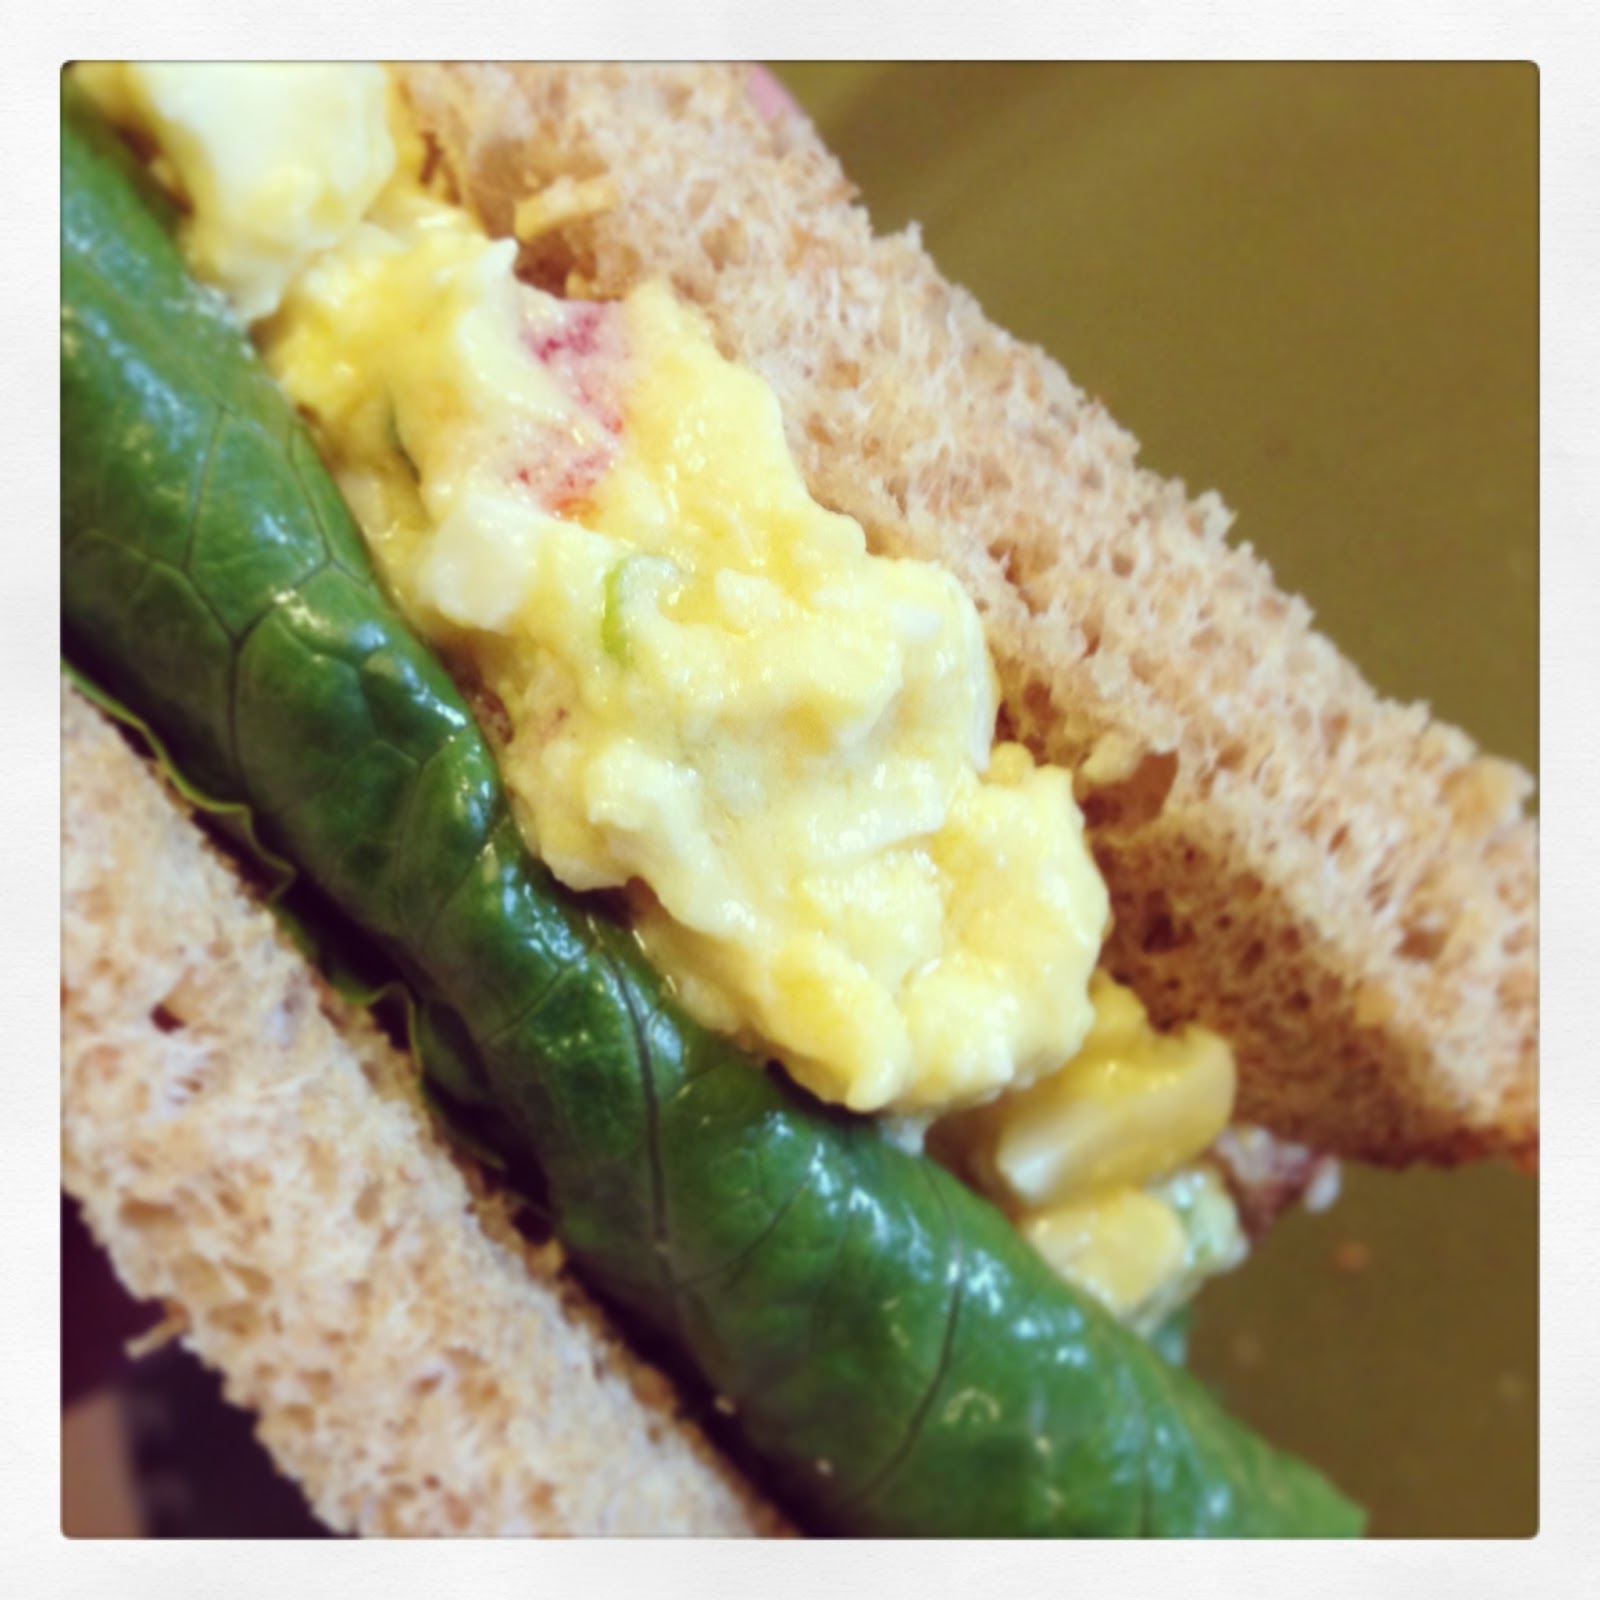
No Mayo Egg Salad

I love, love, love egg salad.  
But I hate, hate, hate mayo.

Solution. 
Olive oil, lemon juice, and Dijon, of course. 
The lemon juice gives it a nice zip. I add a bit of diced red peppers for color and added veggies.

Serve on lightly toasted whole-wheat bread with fresh romaine. Or eat on it's own if you're paleo or gluten free!
No Mayo Egg Salad

6 hard boiled eggs, cooled and shells removed
4 scallions, sliced, green parts only 
1/4 cup diced red pepper
3 tbsp good quality olive oil
2 tbsp lemon juice
2 tbsp dijon mustard
salt and pepper to taste

In a bowl, use potato masher to mash the eggs. 

In a separate bowl, whisk together the lemon juice, dijon mustard, and olive oil. Add to the mashed eggs.  Add the rest of the ingredients and stir to combine.  Voila!

13 January, 2013

French Almond Cake

Brace yourself.

This. is. so freaking good.  
I made this and brought half to work and left half at home for the Boyfriend. At work they gobbled them up, in between bites I was hearing 'so good' 'open.. bakery...' 'recipe!' 

When I got home, of the 9 or so pieces I left behind, there were 2 left.  The Boyfriend- 'I would've ate them all but I figured you might want some.'  

And so I gobbled them up.
I'm really proud of this recipe.  I love French Almond Cake.  It's just perfectly sophisticated and it's not really a cake in that I can eat it for breakfast. If any survived the night anyways. 

I'm proud because this is the first recipe that I experimented with so completely that I had to do several tests- making small batches and baking the muffin tins one at a time to see what worked best.  It took me all day, and it turned out better than I would have imagined.
The cake is fluffy, almost a angel food cake texture.  It's light and airy with a warm almond flavor. The absolute perfect cake to serve with brunch, with coffee or tea, or as a sophisticated dessert to your dinner.  In fact, add some strawberries and cream and it would work well as strawberry shortcake. 
I'm proud also because this recipe is gluten-free.  That's right.  A gluten free cake that got gobbled up so quickly by gluten lovers and gluten haters alike. Can you believe it?
I've talked a little about gluten on my blog, though not too much.  Those people who have tried gluten free baked goods know that sometimes they can be dense and heavy, though these days people are having increasing success as we understand the chemistry behind baking without gluten. And there's an increasing number of gluten-free flour mixes available in supermarkets, which I have used and I do suggest using.  They work really well.

Gluten is what makes dough 'dough-y'.  When a pizza maker tosses a pizza in the air and it stretches all over the place- that is due to the elastic bonds formed by gluten.  That's why gluten free breads can be hard and crumbly- gluten free flours can't quite achieve the same 'stretch.'

In baking, gluten is what makes the dough rise. Adding protein can help- I used whipped egg whites, and it worked wonderfully.

I particularly love this recipe since it can be made for a gluten-eating crowd and no one will notice it's gluten free. In fact, they'll probably compliment you, ask for the recipe, and then their eyes will bug out when they realize :)

If you are making this because you do have a gluten allergy or are making it for someone with an allergy, beware of cross-contamination.  Put away anything that contains flour.  Don't make yourself a sandwich in the middle of the recipe, or make this recipe at the same time as you are making another cake.  Put away all flour-containing items- flour (duh), bread, crackers, cookies, etc. 

Make sure you are using the clean-est mixing bowls and spatulas.  Make sure you clean your counter thoroughly   Using a mixer?  Make sure you clean the entire mixer, as flour particles may be stuck to the top of your mixer.  This recipe does not call for a sifter, but never use a sifter you have used with regular flour for a gluten free recipe.  It's virtually impossible to remove the flour completely.  Do not store your gluten-free cake where it can touch gluten containing items.  Make sure it's in it's own separate container.

I may be sounding a little dramatic here.. just be aware, use clean items, and everything will be fine. 

And without further ado: 


French Almond Cake

1 cup Almond Flour
1/2 cup White Rice Flour
1 1/4 cup white sugar
1 tsp vanilla extract
1/2 tsp almond extract
8 egg whites, at room temp
10 tbsp unsalted butter, melted and cooled
pinch of salt
1/4 cup turbino sugar, muscovato sugar, or sugar in the raw 
sliced almonds (optional decoration)

Preheat oven to 325. Lightly grease a 9' by 9' baking pan, a 9' round baking pan, or a cheesecake pan.

In a large bowl, mix the two flours, sugar and salt. Set aside.

In a separate bowl, add the egg whites. Use a mixer or beat by hand until egg whites are foamy.  Add in the butter, almond extract and vanilla extract quickly.  Using a rubber spatula, gradually pour the eggs into the flour mixture, ever so gently folding it in to combine.  Do not use a spoon and do not stir.  Just gently keep folding with the spatula until the egg is mixed is, and it looks like a light fluffy dough.  

Pour into your prepared baking sheet.  If decorating with almonds as I did, you'll have to kind of plan where you'll be cutting slices, and decorate the top or each one.  After placing almonds on cake, sprinkle the whole thing with turbino sugar- it'll give it a nice color and a just a bit of sweet crunch on the top.

Bake about 30 minutes, until edges are just beginning to turn a golden color and cake is set. Cool on wire rack.  
Do not attempt to cut until cool.  Use a sharp knife (I used a paring knife).  Enjoy!!

01 December, 2012

Cranberry Swirl Muffins

This isn't a recipe you make just because you have leftover cranberry sauce.  
I mean, if you have some leftover, sure, make this recipe, it's freakin delish.

What I'm trying to say is this:  this recipe is so good that you may find yourself making cranberry sauce just to make this recipe. 

These are the perfect little rays of sunshine to the gloomy beginnings of winter.  They're perfect for breakfast or as a coffee-break snack.  They're just a bit tart from the cranberry, and just a bit sweet.  

A word of warning: This recipe is made based on the use of cranberry sauce, not just whole cranberries.  If you just add cranberries (or blueberries, or other fruit you may want to sub), these muffins will be a bit dry.  The added moisture from the cranberry sauce being swirled into the batter is what keeps these so moist.  

In fact, when experimenting, I made these muffins two ways: 

One- The Cranberry Stuffed Muffin.  I placed just a bit of cranberry sauce in the middle of the batter and covered it up for a cranberry surprise.  

Two- The Cranberry Swirl Muffin.  I placed a little bit more of cranberry sauce in the middle of the muffin, covered it, and used a toothpick to gently swirl it together.
The results?  The cranberry stuffed muffin was a bit dry, but the cranberry swirl was perfectly moist.  

So without further ado:

Cranberry Swirl Muffins

2 cups all-purpose flour
1/2 cup sugar
1 tbsp baking powder
1/2 tsp salt
1 cup whole milk
1 tsp pure vanilla extract
1 large egg
4 oz (1/2 stick) unsalted butter, melted and cooled
1 tbsp orange zest
1 tbsp orange juice
1/2 cup cranberry sauce

Preheat oven to 400 degrees. 

1. In a large bowl, sift together the flour, baking powder, and salt.

2. In a separate large bowl, whisk the egg.  Whisk in the sugar, and when combined, add the milk, vanilla extract, orange juice, and zest.  Add the butter (it should be melted completely but NOT hot or it will cook the egg!)

3.  Add the flour mixture gradually to the egg mixture, a bit at a time.  Stir only to combine the dry ingredients to the wet, do not overmix. 

4. Pour into paper-lined muffin pan (I made mini muffins).  Bake mini muffins for 10-12 minutes, and regular muffins for 18-20 minutes, or until a toothpick inserted comes out dry.  Cool on wire rack. 


03 November, 2012

Sage and Maple Turkey Breakfast Sausage


Good morning America!

How about a healthier (yet delicious) breakfast meat this morning?  

I made these Turkey Breakfast Sausage patties last night, and this morning flung them in a pan and served with scrambled eggs and english muffins.  You could use ground beef or chicken if you so desired.

As we've previously discussed, I must make breakfast items the night before, due to The Boyfriend declaring war on anybody standing in the way of his immediate need for breakfast sustenance. 

:)

We went out to breakfast once and had to wait about 40 minutes being seated.  
He didn't speak.  He didn't move.  

He just gripped his stomach in agony, muttering.. 'why...?   WHY...??'
So I sauteed these bad breakfast boys up real quick, and we had a delicious, healthy, and quick breakfast.  I drizzled some syrup on mine.  Yum.
Would be great to have these patties in the fridge for nights when you may have company.  Or even in the freezer, and if unexpected company, pop them out the night before, defrost in fridge, and voila!

16 May, 2012

Caprese Quiche

I recently spent the weekend with The Boyfriend's family, and his mom served up 2 beautiful quiches, and it got me to thinking- considering how much I love quiche, why do I never make it??

And then I remembered that The Boyfriend must eat as soon as he arises, or the world will feel his wrath.  I do not exaggerate. He knows it, I know it, and anyone else that knows him.. knows it.  Consequently, there is never time to prepare a quiche. Really, who has an hour and a half to prepare breakfast?


Well I took matters into my own hands last week.  I made pie crust, and froze half so I can whip up another quiche at any given moment.  The remaining crust I used for Caprese Quiche, and had it for lunch, and breakfast for the next two days (The Boyfriend had some for breakfast too- by the miracle of the microwave).

The caprese flavors- tomato, basil, and mozzarella- work beautifully in a quiche.  Because the flavors are more delicate, I made a lighter, fluffier quiche to not overpower the simple ingredients.  The taste though, is anything BUT simple.


Make sure you use the freshest ingredients for this quiche.  Do not commit the Ultimate Sin of buying a bag of pre-shredded mozzarella! Just don't do it!  Those bags say low moisture for a reason- they will make for a dryer, less elastic quiche (think about having a pizza- some pizza when you pick up a slice the mozzarella cheese stretches for miles before you can get it to tear- that's REAL, more elastic cheese... some pizza you can pick it right up, no long strings of cheese- that cheese is a little dryer, and what you will get with pre-shredded cheese).

So for best results, buy fresh mozzarella near the deli, NOT mozzarella from the refrigerated section. You'll thank me later.

Caprese Quiche

For the Quiche:
3 eggs (room temp)
2 egg whites (separated while cold, egg whites at room temp)
1 tomato, sliced into 6 slices, placed on a paper towel to absorb excess moisture
1 cup fresh basil leaves, chopped
3 basil leaves (for garnish)
1/2 cup fresh mozzarella, grated
1/2 cup mozzarella, cut into thin, round slices. Reserve 3 of the most perfect round slices.
1 cup milk
salt and white pepper to taste (I added about 1/4 tsp salt and a 1/4 tsp white pepper)
1/4 cup flour
extra virgin olive oil

A 9 inch pie crust (Purchase one, or for best results, make the crust below)

  1. Preheat oven to 350 degrees.
  2. Sprinkle tomato slices with a little flour on each side. 
  3. In a saute pan, drizzle a little extra virgin olive oil in pan over med-high heat.
  4. Add the floured tomato slices, and cook until just turning golden, about 2 minutes each side.
  5. Transfer to dry paper towels to drain (same way you drain bacon on paper towels. 
  6. Use a whisk (or fork) to beat the 3 whole eggs together.  Add the milk, chopped basil leaves, salt and white pepper.  Add the egg whites and SHREDDED mozzarella cheese.  Whisk to combine.
  7. Add 3 tomatoes to the pie crust so they are not overlapping. Add the SLICED  mozzarella on top of the tomato (making sure you reserve 3 of your prettiest slices)
  8. Slowly pour the egg mixture over the tomato and mozzarella.  
  9. Place the remaining 3 tomatoes gently on top of the egg mixture. Top each tomato with a basil leaf, and top the basil leaf with the 3 reserved slices of mozzarella.
  10. Bake in preheated oven 45-55 minutes, or until cheese is melted and quiche is golden on top.

For the Crust:
Recipe from The Joy of Pastry by David Munn

Makes two 9-inch pie crusts

2 cups all purpose flour
1 1/2 tbsp granulated sugar
1/2 tsp salt
10 tbsp cold butter
1 large egg
2 tbsp ice water
  1. If you have a food processor, add the flour, sugar, and salt to the processor.  Cut the butter into small cubes, and add them to the processor gradually, pulsing to combine.  Continue pulsing until butter is distributed and you have a very crumbly dough.
  2. If you do not have a food processor, mix together the flour, sugar, and salt in a large bowl. Cut the butter into small cubes, and cut it into the dough.  When cutting into the dough, I use a sharp knife, and literally keep cutting the dough on the sides of the bowl.  The butter gets broken up into smaller pieces, making a crumbly dough. 
  3. Remove dough from food processor if using, and add to a large bowl. Now the dough is in a large bowl for everybody.  
  4. Using your hands, grab handfuls of dough and squeeze together slightly (don't squeeze super hard!).  You must do this fast, because you don't want the warmth from your hands to melt the butter. Continue squeezing until butter chunks are about the size of raisins.
  5. In a separate bowl, mix together the water and egg, and add to the flour mixture.  Knead it through the flour mixture until the liquid is dispersed, but do NOT over-knead it. It will still be a very crumbly dough.  You'll be tempted to add more water.. don't.  A crumbly dough means a flaky pie crust.
  6. Form the dough into a ball.  You;ll have to squeeze it a bit to get the crumbs to form a ball.
  7. Wrap in plastic wrap and refrigerate 30 minutes.
When rolling out the dough:
  1. Remove dough from fridge. On a lightly floured surface, begin to gently roll out the dough.  Make sure you also flour your rolling pin, and dust some flour on top of the dough as well.
  2. If dough begins to crack, use your hands to lightly press it back together.  
  3. Keep checking to make sure the dough is not sticking to the surface.  If it is, peel it up with a spatula, and add more flour to the countertop. 
  4. Roll the dough out to about a 9 inch round circle.  
  5. Carefully lift it with a large spatula and place it in the 9 inch glass pie pan.
  6. Press down the sides so the crust is even with the baking dish. Place the whole dish in the fridge to let the dough relax for about 20 minutes. Preheat oven to 350 degrees.
  7. Remove crust from fridge and bake for 12 minutes.  Prebaking the crust without the quiche filling will keep the crust from getting soggy.
  8. Let cool for about a half hour before filling it with the quiche ingredients.

02 May, 2012

Double Orange Goat Cheese Cupcakes!

A little tart, a little tang...

I've been nuts for cupcakes lately.  Looking through my pantry, I didn't see many good cupcake ingredients.

I did see oranges in the fridge that will never get eaten.
I saw goat cheese leftover from failed appetizers this past weekend.
And of course my favorite ingredient that must go in everything I create lately (including the failed goat cheese appetizer- Jasmine Blossom Honey!

Hmmm.

It all worked out!


These little mini cupcakes are delish!

The frosting is not too sweet, it's light and fluffy. 


The goat cheese center complements the orange honey cupcake- this is not an overly sweet cupcake. Good for breakfast?  Why the heck not?!

Double Orange Goat Cheese Cupcakes

Recipe modified from Half Baked- the Cake Blog

You will need:


Cake:

1/2 cup butter, room temp
3/4 cup sugar
2 eggs
1 1/2 cups all-purpose flour
1 tsp baking powder
1/2 tsp salt
1/2 cup buttermilk
1/4 cup honey
1 tsp vanilla
1 tbsp orange zest
1 tbsp fresh squeezed orange juice

Goat Cheese Topping:
6 ounces goat cheese, room temp
1/4 cup sugar
1 egg

Frosting recipe follows.


  1. Preheat oven to 350 and line 2, 24 muffin pans with cupcake liners
  2. In a medium bowl, mix together all dry ingredients- flour, baking powder, and salt.
  3. In a small bowl mix together the wet ingredients- buttermilk, honey, orange zest, orange juice, and vanilla.  Set aside.
  4. In a large bowl, cream the butter and sugar until combined.
  5. Add eggs, one at a time, beating well after each addition.
  6. Gradually alternate adding the dry and wet ingredients, starting and ending with the dry ingredients. Mix until combined.
  7. Using a tablespoon fill the cupcake liners a little over halfway full, not quite 2/3 full.
  8. Now make the goat cheese topping.
  9. In a mixing bowl, mix the goat cheese and sugar until well combined.  Mix in the egg.
  10. Using a teaspoon (or the same tablespoon, but I found a teaspoon easier to use) top the already filled muffin liners with a dollop of the goat cheese topping. Use the tsp to press the dollop down into the batter a bit, but not so much that it reaches the bottom.
  11. Bake both sheets 8-10 minutes, switching the position of the two baking sheets halfway through.
  12. Let cupcakes cool in pan for 5 minutes, and then remove them to a wire rack to finish cooling.
  13. Once completely cooled, frost with the frosting.

Frosting:
8 ounces goat cheese, room temp
1/4 cup butter, room temp
3 cups powdered sugar
1 cup whipping cream
2 tsp orange extract (or if you don't have, substitute 1 tbsp orange zext and 2 tsp orange juice)

  1. Cream goat cheese and butter in large mixing bowl.
  2. Slowly add powdered sugar, mixing to combine.
  3. Add whipping cream and orange extract.  Whip on high speed for several minutes until frosting is light and fluffy.
I must admit my measurements on the frosting are approximate- I added and tasted, until I got the consistency and taste I was looking for.  

Yes, there is a large amount of whipping cream in this frosting, (who doesn't love whipped cream?!)  I was looking for a really light, airy frosting, as a typical buttercream frosting sounded too heavy for these little bites of bliss. 


Enjoy!

A couple other favorite recipes: